While I was there, I didn't pay any attention to my phone thanks to all the singing and dancing, except to take pictures, but when I left, I saw a text from my sweet hubby that was two images:
Ahh! It was almost done! More girlish screaming commenced, internally at least. When I got home, he had just finished tiling the back wall. I jumped up and down and hugged him and profusely thanked him- which turned into me hugging the shower too. Jake grabbed the camera and started snapping. It all seems a little silly now, but you can see the sheer joy captured on my face!
The camera was already in the bathroom, because Jake was incredibly thoughtful and captured each step of his process for that night. He knew how important it was to me, and how I had been photographing each minute detail, so he took care in snapping everything. I adore that man more than I can possibly say.
He tiled the remaining 3 or 4 rows from when we last left off, but took shots of placing the last tile. From here on out through the rest of the post, I'll list out in steps what he did. He did such a great job taking photos, I don't think I even need to narrate, as they speak for themselves.
1. Apply thinset to the cement board and notch it to prepare for tile.
2. Measure the space vertically and horizontally to prepare for tile cuts.
3. Measure and mark the tile according to the space measurements. Be sure each mark is facing the right way on the tile- horizontally or vertically.
4. Cut the tile with the wet saw on the marked lines.
5. Hold up the tile to the space to ensure a fit. If not cut perfectly the first time, mark those spaces and re-cut.
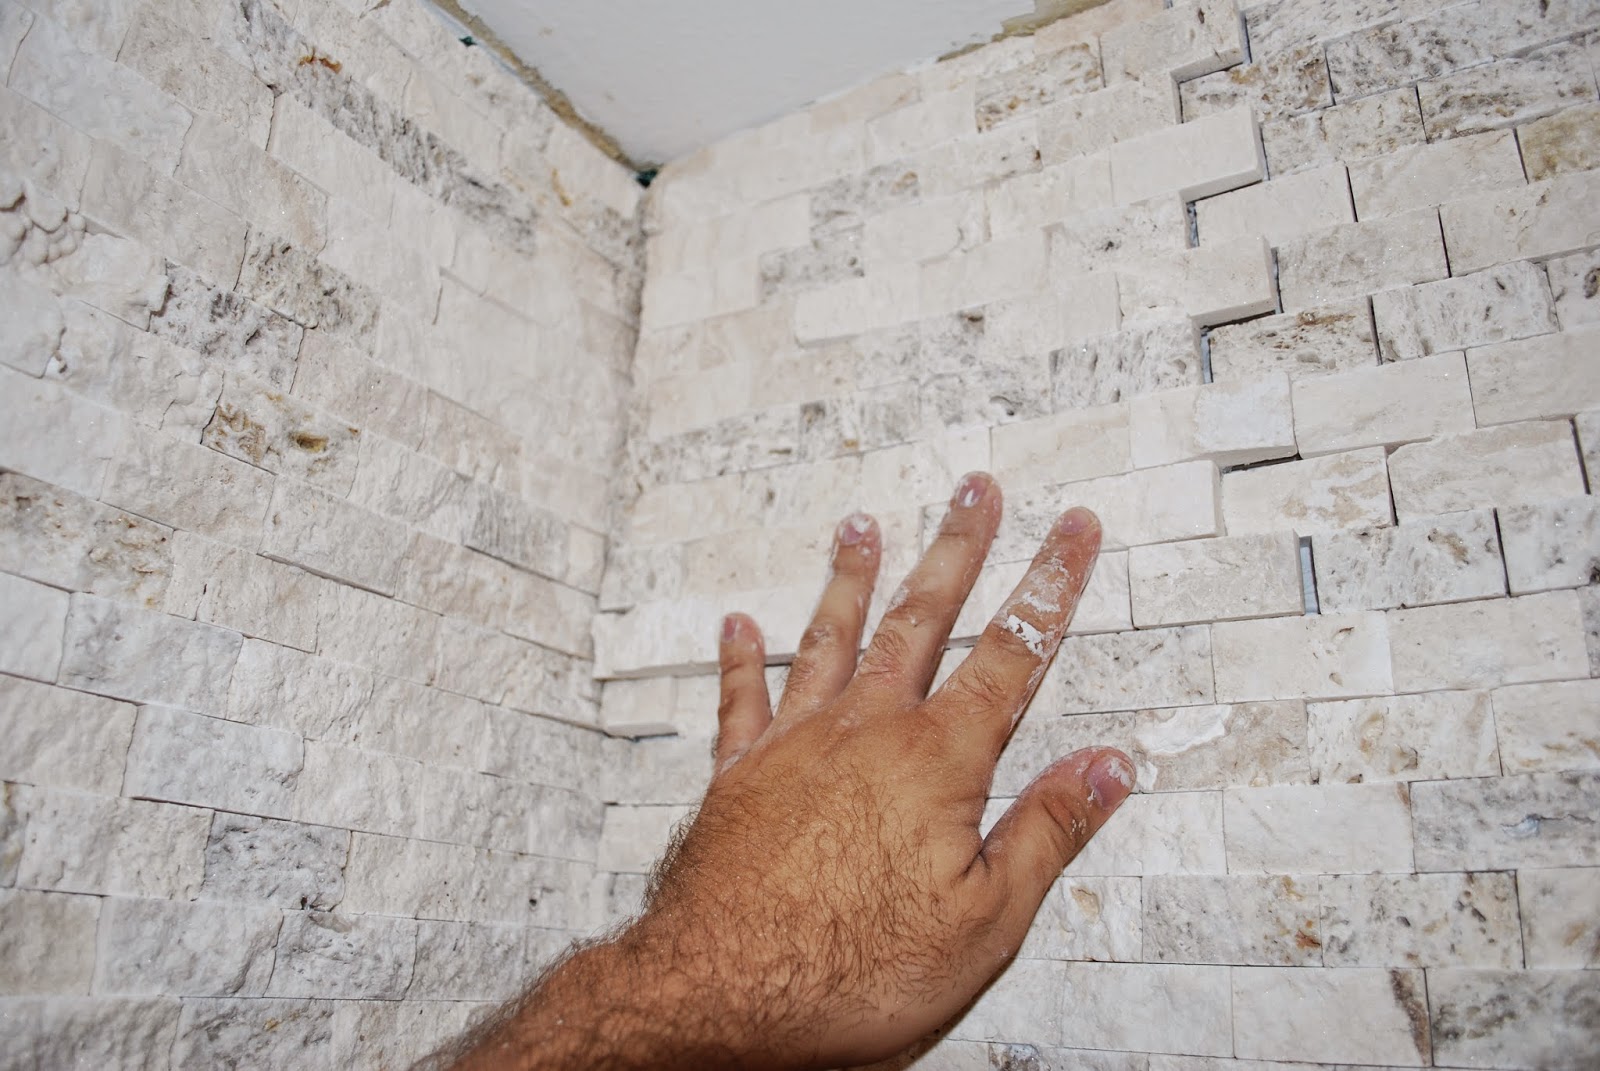
6. Press the cut-to-size tile into the thinset. Press each individual rectangle if using stacked stone. Wipe away any thinset that squeezed out of the cracks before it dries.
A note: on edges, try to cut the tile as closely as possible when using stacked stone. The corner gaps will be filled in with grout, but you'll want as thin of a grout line as possible for aesthetics. Jake noticed larger gaps than desired in some areas, so he filled those in with tiny cut stone pieces and secured them with thinset.
The stacked stone tile is done! We still need to grout the seams, caulk, and lay the finishing pencil pieces, but the bulk of the job is done.
Then, he started to install the showerhead, faucet handle, and tub faucet. To do this, he used plumbers tape to wrap around the pipes, and screwed in the hardware. We still need to secure them and caulk them, but we're another step closer!
I'll take and post better photos as we get further in finishing the shower. For now, this is (laughably) the best one of the hardware + tile that I have!


No comments:
Post a Comment
Thank you for your comment! I love receiving notes!